```html
Why Proper Monitor Elevation Matters for Ergonomics
Staring at a screen that’s too low or too high can strain your neck, shoulders, and eyes. The top of your monitor should align with your natural eye level, allowing you to view the screen without tilting your head. Poor alignment often leads to "tech neck," a modern ailment caused by slouching or craning forward. Ergonomics isn’t just about comfort—it’s about preventing long-term injuries and boosting productivity. A well-positioned monitor reduces fatigue, keeps your spine neutral, and lets you work longer without discomfort.
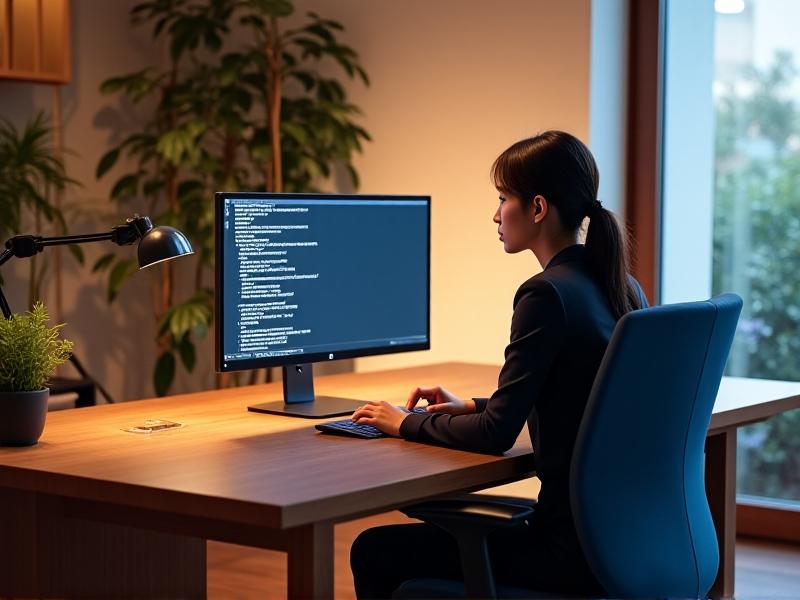
Research from the Occupational Safety and Health Administration (OSHA) emphasizes that even minor adjustments to screen height can reduce muscle strain by up to 40%. Think of monitor elevation as a non-negotiable part of your workspace setup—like choosing the right chair or keyboard. Whether you’re gaming, coding, or binge-watching, eye-level positioning ensures your body stays aligned and stress-free.
How to Measure Your Ideal Eye Level
Finding your perfect monitor height starts with your body. Sit upright in your chair, feet flat on the floor, and gaze straight ahead. The point where your eyes naturally rest is where the top third of your screen should sit. Use a tape measure to note the distance from the floor to this point—this is your target elevation. Most monitors measure between 20 to 30 inches tall, so adjust accordingly.

If you wear bifocals, lower the screen by 1-2 inches to avoid neck extension. For dual monitors, center the primary screen at eye level and angle secondary screens slightly inward. Tools like laser levels or smartphone apps can help visualize the alignment. Remember: your eyes should look slightly downward when reading, mimicking the natural posture of holding a book.
DIY Solutions Using Household Items
No budget for a fancy stand? Raid your home for stackable items. Old textbooks, wooden crates, or even ceramic tiles can lift your monitor securely. For a stable base, use non-slip drawer liners between layers. A vintage encyclopedia set adds a quirky touch, while reams of printer paper offer a minimalist look. Just ensure the stack is wide enough to support your monitor’s base.
Avoid unstable materials like cardboard or loose papers. Test the setup by gently nudging the monitor—if it wobbles, reinforce the stack with adhesive putty or brackets. For wider screens, place heavier items at the corners to distribute weight. This approach isn’t just cost-effective; it’s a creative way to personalize your workspace.
Building a Custom Wooden Monitor Stand
Woodworking novices can craft a sleek stand with basic tools. Start with sanded plywood or reclaimed timber. Cut two rectangular pieces for the base and platform, and four smaller blocks for legs. Assemble with wood glue and screws, then stain or paint to match your decor. Add rubber feet to prevent scratches on your desk.
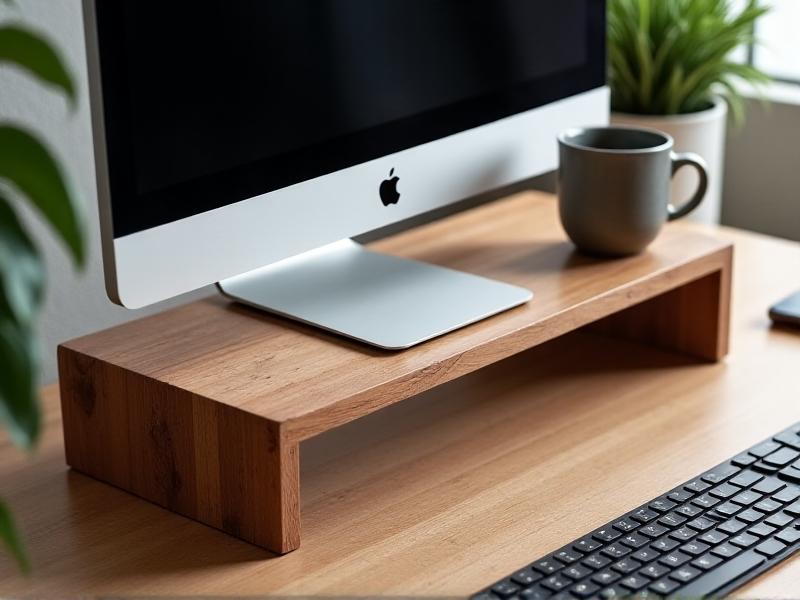
For added functionality, incorporate a hidden drawer for cables or a slanted design to angle the screen. Platforms like YouTube offer step-by-step tutorials for curved or tiered stands. This project takes a weekend but delivers a tailored solution that commercial products can’t match.
The Role of Adjustable Monitor Arms
Adjustable arms offer unparalleled flexibility, especially for shared workspaces. Clamp-mounted models free up desk space, while gas-spring arms let you tilt, swivel, or rotate the screen. Look for arms with a VESA mount (75x75mm or 100x100mm) to fit most monitors. Install them at the edge of your desk for optimal reach.
Though pricier than DIY hacks, arms are a long-term investment. They’re ideal for standing desks, allowing quick height changes throughout the day. Pair with a monitor riser for laptops to maintain alignment across all screens.
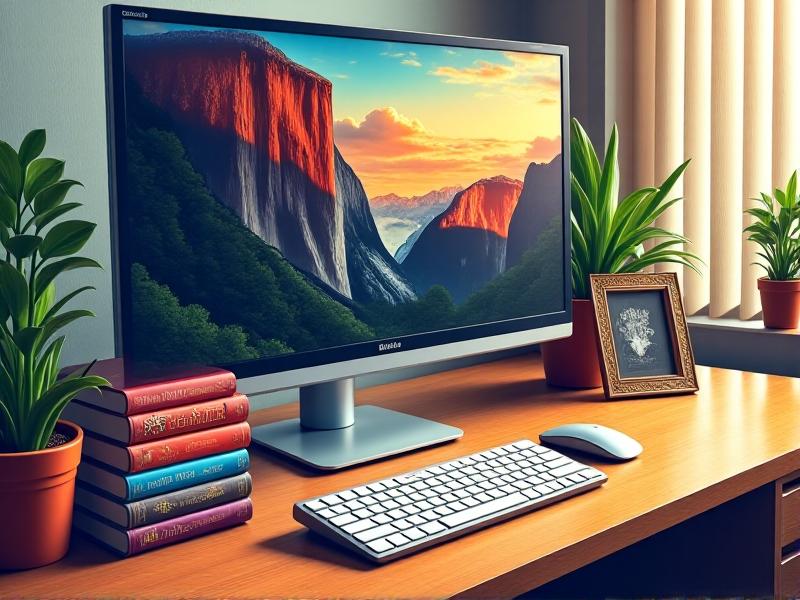
Repurposing Books and Reams of Paper
Hardcover books are the unsung heroes of monitor elevation. Arrange them in a staggered pattern for stability, or glue layers together for a permanent stand. For a industrial look, use concrete blocks or brick pavers wrapped in felt. Reams of printer paper (still sealed in plastic) provide a sturdy, uniform base—just stack two or three horizontally.
This approach works best for lightweight monitors. Avoid placing heavy screens on materials that compress over time, like cardboard boxes. For a cohesive aesthetic, match the book colors to your room’s palette or wrap paper reams in decorative contact paper.
Using Wall Mounts and Shelves for Elevation
Wall-mounted monitors save desk space and create a clean, modern look. Install a floating shelf at eye level and place your monitor on it. Use L-brackets for extra support, especially for larger screens. For tilt adjustments, opt for a articulating wall arm that lets you angle the screen vertically or horizontally.
Ensure your wall can handle the weight—drywall anchors alone may not suffice for heavy screens. Stud finders and toggle bolts provide added security. This method is perfect for small desks or multi-monitor setups where surface space is limited.
Cable Management Tips for Elevated Setups
Elevating your monitor often exposes dangling cables. Use adhesive cable clips to route wires along the back of stands or monitor arms. For DIY stacks, drill a small hole in the platform to thread cables through. Sleeve multiple wires into a single braided sheath for a tidy look.
Label cables with color-coded tags to simplify troubleshooting. Power strips with flat plugs can be mounted under the desk to keep outlets accessible but hidden. A clean setup isn’t just visually pleasing—it prevents tripping hazards and makes future adjustments easier.
Optimizing Dual Monitor Setups
Dual monitors should form a slight arc around your field of vision. Place the primary screen directly at eye level and the secondary one at a 15-30 degree angle. Use identical stands or arms to maintain symmetry. If one screen is taller, adjust the other with risers or stacked platforms.
For vertical setups, align the top of the secondary screen with the primary’s center. Avoid placing monitors too far apart, which forces excessive head turning. Apps like DisplayFusion help manage window placement across screens, reducing neck movement during tasks.
Maintaining Posture: Beyond Monitor Height
Even a perfectly positioned monitor won’t help if your chair or desk is misadjusted. Your elbows should rest at 90 degrees when typing, and your knees at hip level. Use a footrest if your feet don’t touch the floor. Every 30 minutes, practice the 20-20-20 rule: look at something 20 feet away for 20 seconds.
Pair monitor elevation with an ergonomic keyboard and mouse. Wrist rests and anti-fatigue mats complete the setup. Remember, ergonomics is holistic—your entire environment should work together to keep you comfortable and efficient.