```html
Introduction to the 90-90-90 Rule: Why Angles Matter
Imagine sitting at your desk, knees bent, elbows resting comfortably, and hips aligned—all forming perfect 90-degree angles. This is the essence of the 90-90-90 rule, a guideline rooted in ergonomics and biomechanics to optimize posture and reduce strain. Originally popularized in workplace wellness programs, the rule emphasizes aligning the hips, knees, and elbows at 90 degrees to distribute weight evenly and maintain spinal neutrality. Whether you’re coding for hours, lifting weights, or binge-watching your favorite show, mastering these angles can transform how your body feels and functions.

The Science Behind Angular Alignment: Biomechanics 101
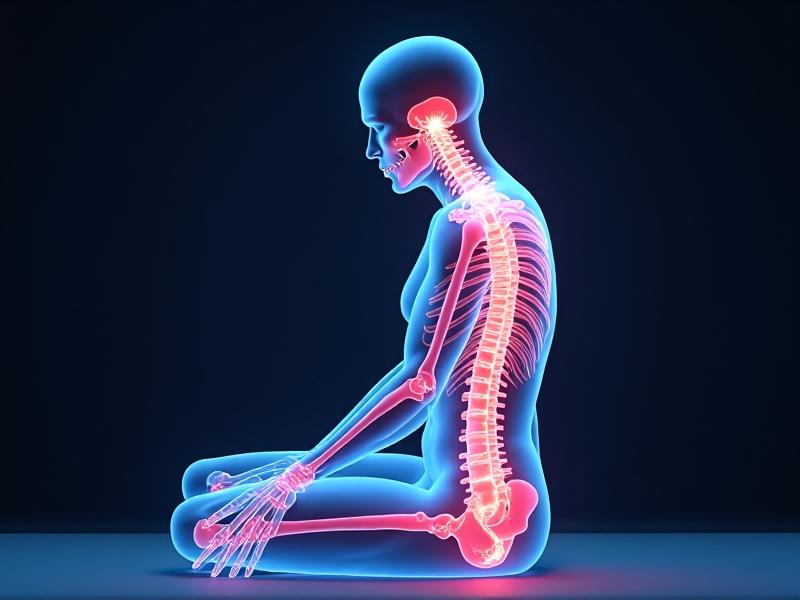
At its core, the 90-90-90 rule leverages biomechanics to minimize stress on joints and muscles. When your hips and knees are bent at 90 degrees, the lumbar spine maintains its natural curve, reducing pressure on spinal discs. Similarly, elbows at 90 degrees prevent shoulder impingement during tasks like typing. Studies show that improper alignment can lead to muscle fatigue, reduced circulation, and chronic pain. For instance, slouching increases disc compression by up to 40%, while elevated shoulders during desk work strain the trapezius muscles. By aligning joints neutrally, the body operates like a well-oiled machine—efficient and resilient.
Applying the Rule to Workplace Ergonomics: Desk Jobs Done Right
For office workers, the 90-90-90 rule is a game-changer. Start by adjusting your chair so your feet rest flat (or on a footrest), creating 90-degree angles at the hips and knees. Your desk height should allow elbows to bend at 90 degrees with wrists straight—a keyboard tray can help. Position monitors at eye level to avoid neck strain. Standing desks? Keep them elbow-height and alternate between sitting and standing. Pro tip: Use a lumbar pillow to preserve the spine’s natural “S” curve. Small tweaks, like lowering armrests or moving your mouse closer, add up to big comfort gains.

Optimizing Athletic Performance with 90-90-90: From Gym to Field
Athletes, take note: The 90-90-90 rule isn’t just for desks. In weightlifting, maintaining 90-degree angles during squats or bench presses ensures proper form and reduces injury risk. Cyclists adjust seat height so knees bend 90 degrees at the pedal’s lowest point. Even runners benefit—landing with a slightly bent knee (closer to 90 degrees) absorbs shock better than a straight leg. Yoga practitioners use the rule in poses like Chair Pose (Utkatasana) to align hips and knees. By prioritizing angular precision, you’ll boost power, endurance, and recovery.

Everyday Applications: Posture Beyond the Desk and Gym
From driving to lounging, the 90-90-90 rule adapts to daily life. In cars, adjust seats so knees and hips form 90 degrees, with mirrors positioned to avoid neck twists. On couches, use pillows to support elbows and maintain spinal alignment. Even sleeping benefits: Side sleepers should bend knees slightly (toward 90 degrees) with a pillow between legs. Parents carrying kids? Hold them close to your chest, elbows bent, to avoid shoulder strain. The rule isn’t about rigidity—it’s a mindfulness tool to check in with your body throughout the day.
Common Mistakes and How to Correct Them
Even with good intentions, mistakes happen. Overarching the lower back (a “duck tail” stance) or tucking the pelvis (posterior tilt) disrupts hip alignment. Solution: Engage core muscles to stabilize the pelvis. Another pitfall? Raising shoulders while typing—a sign your desk is too high. Lower the chair or use a keyboard tray. Crossed legs might feel comfy but skew hip angles; keep feet flat. If your monitor forces you to look down, prop it on books. Remember: Perfect posture feels effortless, not forced.
Tools and Accessories for Maintaining Proper Angles
Ergonomic gadgets make alignment easier. Consider adjustable chairs with lumbar support, sit-stand desks, or footrests for shorter users. Monitor arms free up desk space while optimizing screen height. Keyboard trays with negative tilt reduce wrist strain. For athletes, foam rollers and resistance bands aid mobility. Apps like Posture Reminder send nudges to check your angles. Budget-friendly hack: Use a rolled towel for lumbar support. Investing in these tools pays off in long-term health.
Long-Term Benefits: How Consistency Pays Off
Sticking to the 90-90-90 rule isn’t just about comfort—it’s a longevity strategy. Proper alignment reduces wear and tear on joints, lowering arthritis risk. Improved circulation means fewer numb legs or stiff shoulders. Over time, good posture strengthens core muscles, making alignment feel automatic. Studies link proper ergonomics to higher productivity and fewer sick days. Think of it as compound interest for your body: Small daily investments yield lifelong dividends.
Case Studies: Real-Life Wins and Lessons
Take Sarah, a graphic designer who battled chronic neck pain. After adjusting her monitor and chair to 90-degree angles, her pain vanished in weeks. Then there’s Mike, a powerlifter who corrected his squat depth using angle-tracking apps, boosting his lifts by 15%. Even schools are adopting the rule—one district reported fewer student complaints after introducing ergonomic desks. These stories prove that whether you’re a gamer, parent, or CEO, angular alignment is a universal fix.
Future Trends: Smart Tech and Postural Innovation
The future of posture is high-tech. Wearables like posture-correcting shirts vibrate when you slouch. AI-powered apps analyze your sitting angles via webcam. Smart chairs auto-adjust throughout the day, and VR setups train athletes in real-time form correction. Researchers are even exploring exoskeletons for industrial workers. As tech evolves, the 90-90-90 rule will become second nature—blending seamlessly into how we live, work, and move.